Defensive aerial hunter: vertical mobility, punishes and explosive combos
Fastest BRV 19F (Spiral Blow, Lance Barrage)Fastest HP 41F (Dragon's Fang)Dash 81 (Below Average)ATK 110DEF 1111-hit HP YesDragon's Fang, LancetHP links YesCombos only
Standing in the meta
Tier B17th of 30 — 2017 tournament tier list from dissidia.wiki (half matchup values, half expert player votes).
Ranked B (17th out of 30) on the 2017 tier list, which matches the overview: a character regularly placed in mid tier, defensively reliable but with no standout offensive asset.
Overview
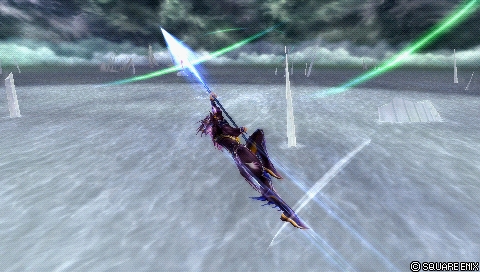
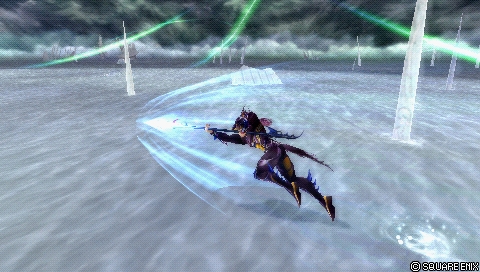
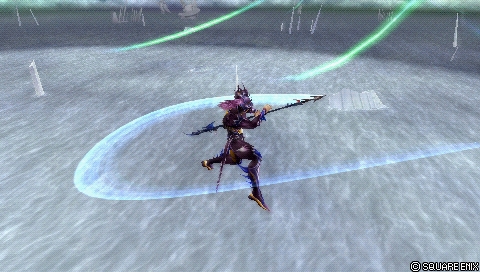
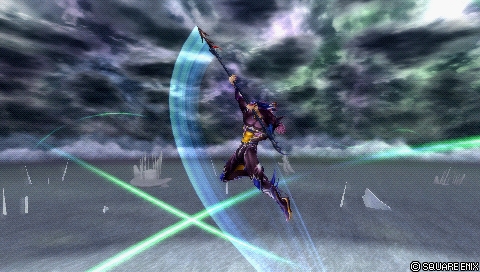
Kain is a short-range aerial fighter with exceptional vertical mobility. He has a unique homing air dash, which can be performed after his melee bravery attacks. His aerial defence is first rate: his air jumps and Precision Jumps are among the best in the game, and his fast fall speed makes his air dodges very safe. His aerial attacks come out fast and cover diagonal angles well, which serves a defensive punish style ideally.
On hit, his directional follow-ups change the direction of the knockback and convert through solo combos that are few in number but very rewarding. His wall carry is excellent thanks to the Lance Barrage loops and to his devastating aerial HP attacks. Despite an average base ATK, his real damage is far higher: combos, criticals and heavy base damage on his Wall Rush moves such as Rising Drive and Sky Rave. On the ground, he controls the aerial space with his emblematic Jump and can slow the pace at any time.
His limits come from an offence with no real strong point: his aerial bravery attacks are not front-rank tools for rushdown. He can poke, but all his moves are a little slower than average, with no movement during the startup and linear tracking in a single direction. His relatively slow recovery exposes him to whiff punishing at short range. He therefore depends on timing mixups to avoid being blocked and does not always stop fast movement. His few projectiles are telegraphed or risky for poking through traps, such as Ultimecia's charged Knight's Lance or The Emperor's Thunder Crest.
Competitively, Kain is generally ranked mid tier. His defensive style works reliably against a wide variety of characters: he avoids damage well in the air and forces his way through with charged Jumps on the ground. Explosive as soon as he lands a clean combo, he nonetheless struggles to force openings against defensive opponents, and his assist gauge filling is a little slow — especially in a small arena under pressure. In a game where defence is king, Kain remains a competent character, with a direct moveset and high damage.
Strengths
First-rate aerial defence: excellent air jumps and Precision Jumps, and a fast fall speed that makes air dodges safe.
Fast aerial attacks that cover the diagonals well, perfect for a punish game.
A unique homing air dash after his melee bravery attacks (Air Dash Cancel).
High wall carry through the Lance Barrage loops and very powerful aerial HP attacks (Rising Drive, Sky Rave).
Practical damage far above his average base ATK thanks to combos, criticals and the heavy base damage of his Wall Rush moves.
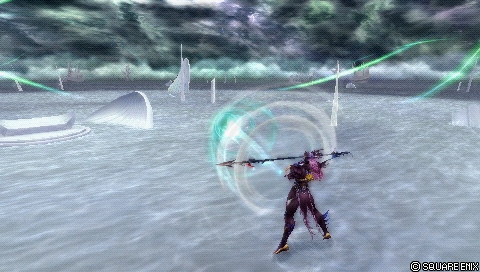
Jump controls the aerial space from the ground and slows the pace on demand, with invincibility on the way up.
Weaknesses
Aerial bravery attacks short of the best for rushdown: slower startups, no movement during the startup, linear tracking.
A relatively slow recovery: vulnerable to whiff punishing at short range.
He depends on timing mixups to avoid blocks and does not always stop fast movement.
Few projectiles, all telegraphed or risky against traps (Ultimecia's charged Knight's Lance, The Emperor's Thunder Crest).
He struggles to force openings against defensive opponents.
Slightly slow assist gauge filling, a problem above all in a small arena under pressure.
Stats & speeds
Name
Kain Highwind (カイン・ハイウインド)
Original game
Final Fantasy IV
Base ATK (LV100)
110 (Average)
Base DEF (LV100)
111 (Average)
Run Speed
8 (Below Average)
Dash Speed
81 (Below Average)
Fall Speed
67 (Fast)
Fall Speed Ratio After Dodge
16 (Very Fast)
Fastest BRV
19F (Spiral Blow, Lance Barrage)
Fastest HP
41F (Dragon's Fang)
1-Hit HP
Dragon's Fang, Lancet
HP Links
Yes (Combos only)
Command Block
No
Weapon
Daggers, Greatswords, Katanas, Spears, Swords
Armor
Shields, Gauntlets, Large Shields,Helms, Light Armor, Heavy Armor
Exclusive weapons
Black Dragon Spear, Holy Dragon Spear,Abel's Lance, Highwind
Unlock
Default
Alignment
Cosmos
Voice Actor (JP)
Koichi Yamadera
Voice Actor (ENG)
Liam O'Brien
Mobility profile (normal mode) — position within the cast
Gold dot: this character · small dots: the rest of the cast · violet line: average. Wiki values, lower = faster; the rank on the right reads directly (1st = fastest).
Moves
Startup of Kain Highwind's moves
Shorter bar = faster move. Startup in frames (60 fps, dissidia.wiki data), with priority after the value. Moves marked ★ are the fastest in the kit — usually your best punish and pressure tools.
Bravery attacks
Ground
Spiral Blow19FMelee Low
A poke or an occasional punish tool near walls: a relatively fast startup (19F) and a low vertical angle, good for hitting in front of Kain, with decent base damage and average knockback into a Wall Rush — which also makes it an assist combo starter. Kain becomes airborne when he uses it, so it cannot be repeated on the ground; it is one of his safest ground moves to whiff, but it offers little return without a Wall Rush or an assist.
Base damage
20
Startup
19F
Type
Physical
Priority
Melee Low
EX Force
0
Effects
Wall Rush
Cancels
Dodge
CP (mastered)
30 (15)
Lance Burst29FMelee Low
His most powerful ground bravery attack, dedicated to punishing blocks or dodges. Above-average base damage and combo starters everywhere: an assist after the thrust, or a dodge cancel > Lance Barrage solo — two practical routes often equipped competitively. The move advances and stays active as long as Kain keeps moving (enough to punish a ground dodge after a dash), but its startup is reactable and it cannot anti-air.
Base damage
32 (2 x 6, 5, 15)
Startup
29F
Type
Physical
Priority
Melee Low
EX Force
90
Effects
Chase
Cancels
Dodge
CP (mastered)
30 (15)
Cyclone (ground)35FRanged Low
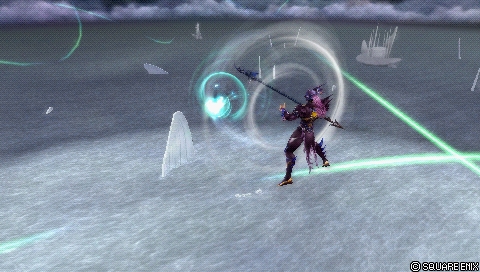
A homing projectile used sparingly on the ground: on hit, it draws the opponent in and its hit stun allows a combo into an HP attack, notably Rising Drive, from mid range — with strict timing, since Kain is airborne only very briefly after the recovery. Poorly suited to space control: low priority, a slow startup (35F) and Kain stays still after the cast, which loses to homing dashes.
Base damage
10
Startup
35F
Type
Physical
Priority
Ranged Low
EX Force
0
CP (mastered)
30 (15)
Aerial
Lance Barrage19FMelee Low
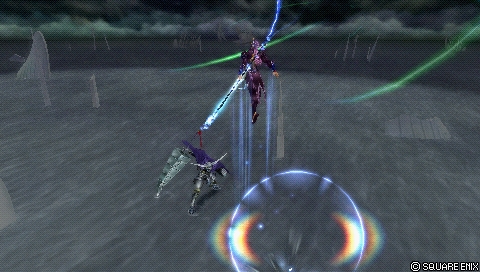
Kain's main poke: it advances during the move, which makes it the reference tool for hitting in front of him and punishing at short range (a whiff, a block stagger, a missed block). On hit, an assist call or a directional follow-up: the Up Follow-up (90 EX) feeds his midscreen solo loop — technically infinite, limited to two repetitions competitively — ending with the Neutral Follow-up at a wall for the Wall Rush; the Down Follow-up confirms ground assist combos. Relatively safe in neutral thanks to the dodge cancel and his fall speed, but whiff punishable and prone to missing moving targets since Kain stops on startup.
Normal + Neutral19FMelee Low
Base damage
35 (7, 8 + 2 x 4, 12)
Startup
19F
Type
Physical
Priority
Melee Low
EX Force
30
Effects
Wall Rush
Cancels
Dodge
CP (mastered)
30 (15)
Normal + Up / Down19FMelee Low
Base damage
30 (7, 8 + 15)
Startup
19F
Type
Physical
Priority
Melee Low
EX Force
90
Effects
Chase
Cancels
Dodge
CP (mastered)
30 (15)
Celestial Shooter21FMelee Low
A dedicated upward attack: it serves to build assist gauge on whiff and to punish opponents above Kain. Slightly slower than Lance Barrage (21F) but the diagonal movement that follows contributes to its range and its safety in neutral. The Up Follow-up can Wall Rush near ceilings to start assist combos; there is a blind spot just above Kain and only one trajectory, hence the importance of timing mixups.
Normal + Up21FMelee Low
Base damage
40 (2 x 4, 7 + 4, 4, 5, 12)
Startup
21F
Type
Physical
Priority
Melee Low
EX Force
30
Effects
Wall Rush
Cancels
Dodge
CP (mastered)
30 (15)
Normal + Neutral / Down21FMelee Low
Base damage
30 (2 x 4, 7, 15)
Startup
21F
Type
Physical
Priority
Melee Low
EX Force
90
Effects
Chase
CP (mastered)
30 (15)
Crashing Dive21FMelee Low
A dedicated downward attack, the mirror of Celestial Shooter: assist gauge on whiff, punishing opponents below and the occasional approach on grounded opponents thanks to its travel distance, mixed with dash feints and other bravery attacks close to the ground. On hit: a ground Wall Rush and a strict combo through a dodge cancel into Lance Barrage; the Up Follow-up (90 EX) opens a very rewarding route that does not depend on walls. It only travels in one direction, so timing mixups are indispensable.
Normal + Down21FMelee Low
Base damage
40 (1 x 7, 8 + 1 x 7, 6, 12)
Startup
21F
Type
Physical
Priority
Melee Low
EX Force
30
Effects
Wall Rush
Cancels
Dodge
CP (mastered)
30 (15)
Normal + Up / Neutral21FMelee Low
Base damage
30 (1 x 7, 8 + 15)
Startup
21F
Type
Physical
Priority
Melee Low
EX Force
90
Effects
Chase
Cancels
Dodge
CP (mastered)
30 (15)
Cyclone (midair)35FRanged Low
Almost identical to the ground version: an occasional mid-range poke and a setup tool in assist combos, able to combo into a second Cyclone at mid to long range. Little used competitively: too slow to zone, a low reward without precise positioning, and it sacrifices the vertical coverage of Celestial Shooter or Crashing Dive.
Base damage
10
Startup
35F
Type
Physical
Priority
Ranged Low
EX Force
0
CP (mastered)
30 (15)
HP attacks
Ground
JumpSee table belowMelee High
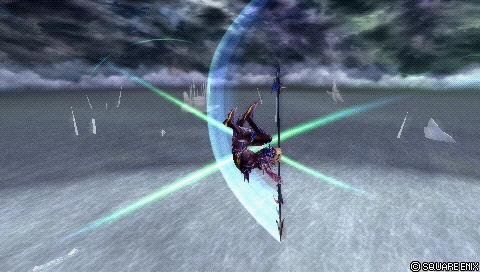
A flexible and indispensable defensive tool: an emergency attack after a ground dodge thanks to its invincibility (LV1), space control in its charged versions (LV2/LV3) with a rising hitbox that crushes guards and guarantees the HP hit. The dodge cancel at the apex (LV2/LV3) allows him to charge while assessing the situation with very little risk, and opens solo combos if the opponent is at maximum height. Downsides: the LV1 forces a landing (punishable without an assist), a charged Jump does not force an approach (the opponent can fill their gauge at range), it loses to halo camping, and its maximum height does not reach the ceiling of large arenas — low-ceiling stages such as Pandaemonium - Top Floor and M. S. Prima Vista work in his favour. Technically vulnerable to EX Revenge checkmates, since it deals bravery damage on the way down.
Base damage
2 x N
Startup
See table below
Type
Physical
Priority
Melee High
EX Force
3 each
Effects
Wall Rush
Cancels
Dodge (Landing)
CP (mastered)
40 (20)
Version
Startup / charge time
Max charge time = 180F
Liftoff
Peak
Landing
LV1
8F
After button release
7F
23F~41F
51F
LV2
32F
After button release
9F
27F~49F
67F
LV3
62F
After button release
9F
31F~57F
79F
Dragon's Fang41FMelee High
Kain's single-hit HP attack and his fastest HP attack (41F), typically used after a block stagger, with good vertical tracking but short reach — beware of disjoints blocked at range. The ground version sees little use given the weakness of Kain's ground game outside charged Jumps.
Startup
41F
Priority
Melee High
EX Force
0
Effects
Wall Rush
Cancels
Dodge
CP (mastered)
30 (15)
Aerial
Rising Drive49FMelee High
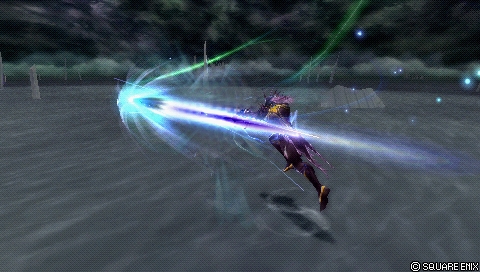
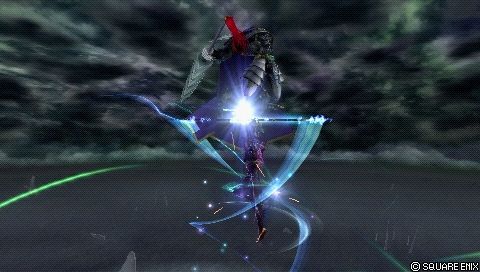
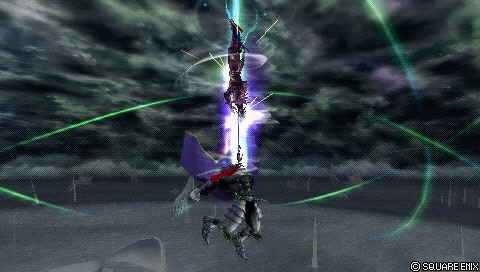
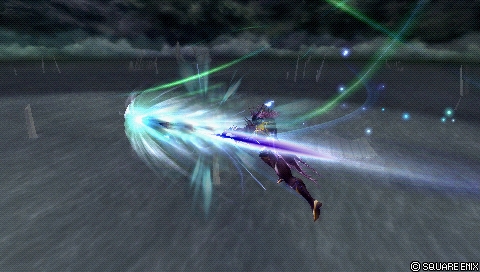
A rising aerial HP attack (49F) that spirals up to the ceiling, with Wall Rush and heavy base damage: it is the preferred ending to assist combos, notably after Cyclone or Crashing Dive's Wall Rush.
Base damage
64 (2 x 32)
Startup
49F
Type
Physical
Priority
Melee High
EX Force
30
Effects
Wall Rush
Cancels
Dodge
CP (mastered)
30 (15)
Sky Rave49FMelee High
A diving aerial HP attack (49F) down to the ground, with Wall Rush: along with Rising Drive, it is one of the heavy base damage moves that swell Kain's real damage.
Base damage
74 (2 x 37)
Startup
49F
Type
Physical
Priority
Melee High
EX Force
30
Effects
Wall Rush
Cancels
Dodge
CP (mastered)
30 (15)
Dragon's Fang (midair)41FMelee High
Functionally identical to the ground version, but it fills the single-hit HP role more reliably in the air.
Startup
41F
Priority
Melee High
EX Force
0
Effects
Wall Rush
Cancels
Dodge
CP (mastered)
30 (15)
Gungnir55FRanged High
A thrown lance of energy (55F, Ranged High) that flies until it hits the scenery, with Wall Rush.
Base damage
60 (2 x 30)
Startup
55F
Type
Physical
Priority
Ranged High
EX Force
30
Effects
Wall Rush
Cancels
Dodge
CP (mastered)
30 (15)
EX Mode: Holy Strength! & EX Burst
The “Holy Strength!” EX Mode: Kain gains Regen, Critical Boost and Lancet.
Lancet (activated with R + Square, 51F, Ranged High priority): the damage dealt is absorbed as HP and the bravery spent is immediately recovered. The action can be cancelled into a Dodge or an Air Dash and triggers the EX Burst.
EX Burst : “Dragoon's Pride”, the ultimate dragoon jump: mash the command shown on screen to raise the gauge, with the command changing twice at random. Base damage of 30 in the initial phase and 100 in total (Physical).
Special moves
Special commands that never appear in the equip lists: they cost no CP and trigger from a dedicated input.
LancetSpecial moveR + Square — EX Mode (Holy Strength) only
A special attack absent from the equipment lists, available only in EX Mode: after a short charge time, Kain strikes from below the opponent. It returns as much HP to him as the HP damage dealt and quickly restores his bravery up to its base value. Kain can move during Lancet and, as after his melee attacks, press X afterwards to dash towards the opponent — even if Lancet did not connect. It is the starting point of the “Lancet > Lance Barrage” route in the community combo record.
Air Dash Cancel: when Kain finishes a melee bravery attack, he can cancel it into a homing air dash by pressing Triangle. The main application is filling the assist gauge with the Assist Gauge Up Dash ability while approaching the opponent — useful for optimising ground assist combo starters, but little used elsewhere. The dash and the relatively slow startup of Kain's aerial bravery attacks do not open any solo combo routes.
The mechanic is built in: no dash ability to equip.
Kain performs the air dash even if Triangle is held in advance: in practice, it works like an input buffer, a rare thing in Dissidia 012.
Gameplan & advanced tech
Kain's gameplay loop is defensive and aerial: alternate Lance Barrage, Celestial Shooter and Crashing Dive to keep moving while building assist gauge on whiff, cover the three axes (in front, above, below) and punish everything that whiffs or recovers slowly. His fall speed makes his air dodges (back dodges especially) safer than average, which makes the dodge cancels after his pokes safe.
On hit, everything converges on wall carry and Wall Rush: Lance Barrage's Up Follow-up for the midscreen solo loop (two repetitions allowed competitively, big EX and wall carry gains), the Neutral Follow-up at a wall for the Wall Rush, the Down Follow-ups to confirm ground assist combos, and Rising Drive or Sky Rave as an ending for massive damage. The Air Dash Cancel lets him scrape a little assist gauge before the confirm.
On the ground, Kain is mediocre in direct combat: Lance Burst serves as a dedicated punish, but the default reflex remains the charged Jump — safe thanks to the dodge cancel at the apex, it crushes guards, controls space and slows the pace. Careful, though: charging Jump lets the opponent fill their gauge at range, which can cost him the assist race.
Gauge management is the point of friction: Kain's assist filling is a little slow, especially in a small arena under pressure. The move notes highlight the value of the Kuja (corner combos through the Up Follow-up) and Aerith (conversions through a Chase after the follow-ups) assists for making every hit pay.
Character-specific tech
Lance Barrage loop (Up Follow-up)
The Up Follow-up does not Wall Rush but generates 90 EX, which allows a dodge cancel then another Lance Barrage: Kain's main midscreen solo combo, technically infinite. The timing is fairly strict, but every repetition pays in wall carry and assist gauge; competitively, two Lance Barrages are always allowed, with the Neutral Follow-up near the wall to finish on a Wall Rush.
Jump dodge cancel
By charging Jump (LV2/LV3), Kain can air dodge at the apex of the jump: he threatens, observes and repositions with very little risk. Leaving Jump with a dodge also opens solo combos if the opponent is at the jump's maximum height.
Lance Burst dodge cancel combo
After Lance Burst's thrust, a dodge cancel into Lance Barrage starts a solo combo from the ground — one of the two routes (along with the assist call) that make this move so widely equipped competitively.
Cyclone > Rising Drive
Cyclone's hit stun allows a combo into an HP attack from mid range, notably Rising Drive. A strict window: Kain only counts as airborne for a very short moment after the recovery, and becomes grounded again if he does not act at the right time.
Documented solo combo routes
Many combos with heavy bravery damage, most of them demanding or impractical: Lance Burst > Lance Barrage (or other aerial bravery attacks near a wall); high-angle Lance Barrage > Lance Barrage (a very tight infinite); high-angle Crashing Dive > Lance Barrage; Lancet (special move, EX Mode) > Lance Barrage; Cyclone > almost anything; level 2 Jump (a hit at the top) > dodge cancel > Crashing Dive, Sky Rave or Dragon's Fang.
Three moves offer the empty chase into an assist gauge reset: Lance Barrage (low angle), Crashing Dive (neutral angle) and Celestial Shooter (low angle).
Universal techniques (blodge, dash feint, lock off, dodge punishment): see the Techniques & glitches page.
Matchups
The wiki's matchups page is a stub, but the overview gives a few markers: Kain's defensive style works reliably against a wide variety of characters, whereas he struggles against defensive opponents who give him nothing to punish. His telegraphed projectiles make poking through Ultimecia's traps (a charged Knight's Lance) or The Emperor's (Thunder Crest) risky. Finally, Jump loses effectiveness against halo camping and in large arenas, while low-ceiling stages (Pandaemonium - Top Floor, M. S. Prima Vista) turn to his advantage.
Two builds are documented, both at 450 CP with the Equip Glitch (the total cost assumes the glitch), the Seal of Lufenia special effect and the Rubicante summon.
Side by Side (Damage)
A high-damage build banking on bravery damage and Wall Rush, designed for small, low-ceiling arenas. The maximum booster of x7.4 activates with Large Gap in HP and BRV = 0 together (x5.3 with Large Gap in HP alone).
Documented substitutes: on the damage build, Hyper Ring can give way to Battle Hammer (assist drain) or Dismay Shock (reinforced EX drain). On the EX build, prefer the Cleaver if you play the Aerith assist; Heaven's Cloud suits you if you have mastered his aerial bravery loops in the corner.
Build and check a Kain Highwind loadout slot by slot: build creator (CP gauge, ability exclusions and tournament rules applied).
Assist synergies
Kain Highwind as an assist
Kain is ranked Mid on Muggshotter's assist tier list. His assist moves: Lance Burst as a ground BRV attack (29F, Chase), Crashing Dive as an aerial BRV attack (21F, Wall Rush), Jump as a ground HP attack (62F, Wall Rush) and Dragon's Fang as an aerial HP attack (41F, Wall Rush). The wiki provides no written evaluation of his role as an assist, only that data.
Recommended assists
Kuja — Cited in the wiki's synergies; the Lance Barrage notes state that the Kuja assist connects in the corner after the Up Follow-up.
Onion Knight — Cited in the wiki's synergies.
Aerith — Mentioned repeatedly in the move notes: she combos through a Chase after the Lance Barrage, Celestial Shooter and Crashing Dive follow-ups, and the builds section recommends the Cleaver when playing her.
Community tech
Cyclone combos into a second Cyclone
At mid to long range, Cyclone can be chained into another Cyclone; optimised that way, it adds more bravery damage than his other aerial bravery attacks (the first part of Lance Barrage, for instance).
Kain Highwind Character Guide (v1.6) — 3R9Sasuke 2012
A period GameFAQs guide: an annotated movelist, EX Mode usage, combos and builds, plus a chapter of matchup-by-matchup advice covering the whole cast (30 characters).
A community record of solo combo routes for all 31 characters, compiled by Eddiegames on the Discord DISSIDIA and published on pastebin (last updated December 2022). Kain is described there with many combos dealing heavy bravery damage, often demanding ones.
List of empty chases leading to an assist gauge reset (Eddiegames)
A character-by-character record of the moves whose hit stun allows an empty chase (a chase initiated without executing anything in it) followed by a reset of the opponent's assist gauge. The detail for this character is covered in the specific techniques.
The matchups page is in a stub state: no content dedicated to matchups.
The combos section is empty in the sources (the “Solo” subsection has neither text nor table).
The overview's Strengths/Weaknesses table is empty: strengths and weaknesses are reconstructed from the text alone.
No written evaluation of his role as an assist: only the figures and two synergy names (“Kuja, Onion Knight”) are provided.
Rising Drive, Sky Rave, Gungnir and Dragon's Fang (midair) have no dedicated usage notes, only short descriptions and mentions in the overview.
The community's empty chase record is undated (the solo combo record that accompanies it is dated December 2022): how current it is cannot be established.
 Assist
 Rubicante
 Highwind
 Lufenian Dirk
 Lufenian Headband
 Lufenian Vest
 Hyper Ring

 Large Gap in HP
 BRV = 0
 Empty EX Gauge
 Summon Unused
 Pre-EX Mode
 Side by Side

