Tier B22nd of 30 — 2017 tournament tier list from dissidia.wiki (half matchup values, half expert player votes).
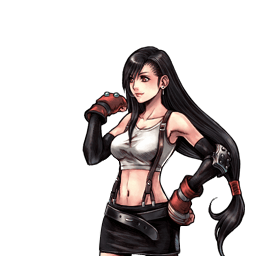
Tifa is ranked 22nd, in tier B, on the 2017 competitive tier list. The overview calls her a low tier character, held back by her average bravery damage and her limited vertical aerial game.
Overview
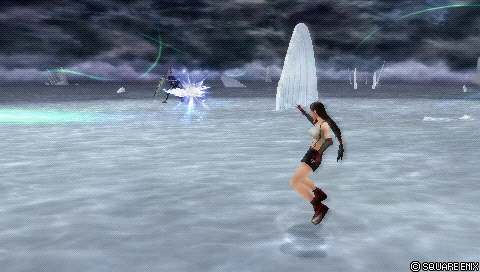
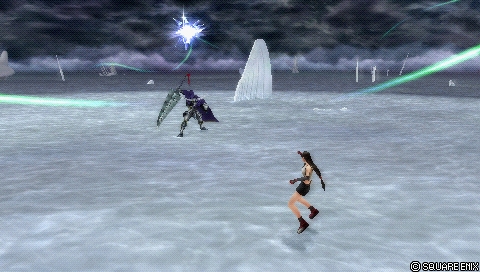
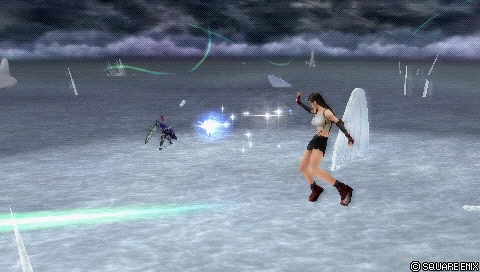
Tifa is a highly mobile close-quarters fighter (fast run, very fast dash) with the unique ability to feint her attacks. Her ground game rests on medium priority projectiles and on an HP link (Waterkick into Somersault), her aerial game on moves with vertical tracking.
Her EX generation is decent and her EX Burst is among the most devastating in the game when plenty of EX gauge is left. Her damage potential with HP attacks is high thanks to a large base bravery and to the Aerith assist in particular.
On the other hand, weak average bravery damage, feints of limited utility and below-average vertical capabilities in the air hold back her overall effectiveness. The sources describe her as a low tier character.
Strengths
High mobility: a fast run and a very fast dash.
Invincible feints on most of her attacks, one of the game's rare sources of invincibility.
The Somersault HP link out of Waterkick, which starts assist combos anywhere.
Very high HP damage potential with a high base bravery and the Aerith assist (a double assist combo of more than 3000 HP).
An EX Burst among the most powerful in the game with a full EX gauge.
A solid ground game, able to compete with most conventional melee strategies.
Weaknesses
Weak average bravery damage (a very low base ATK), with momentum hard to establish even on hit.
Limited utility on the feints: the direction cannot be controlled, there is no mixup into another attack, and she is vulnerable after the teleport.
Below-average vertical capabilities in the air.
Heavy reliance on assists and Wall Rushes to convert into significant damage.
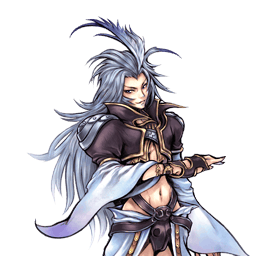
Trouble approaching against persistent projectiles, traps and zoning (Garland, The Emperor, Ultimecia).
Mobility profile (normal mode) — position within the cast
Gold dot: this character · small dots: the rest of the cast · violet line: average. Wiki values, lower = faster; the rank on the right reads directly (1st = fastest).
Moves
Startup of Tifa Lockhart's moves
Shorter bar = faster move. Startup in frames (60 fps, dissidia.wiki data), with priority after the value. Moves marked ★ are the fastest in the kit — usually your best punish and pressure tools.
Bravery attacks
Ground
Beat Rush21FMelee Low
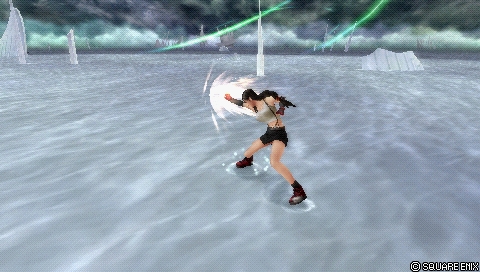
A three-hit combo that serves as a ground punish, as a defensive option thanks to its feint (Tifa's fastest protection after a ground dodge) and as an occasional poke. Each hit can be delayed to hit confirm an assist combo, with good EX generation (90). A knockback cancel on the third hit with the assist makes the most of its 35 base damage.
Base damage
35 (8, 11, 16)
Startup
21F
Type
Physical
Priority
Melee Low
EX Force
90
Effects
Chase, Feint
Cancels
Dodge, Feint (First hit)
CP (mastered)
30 (15)
Blizzard31FRanged Low
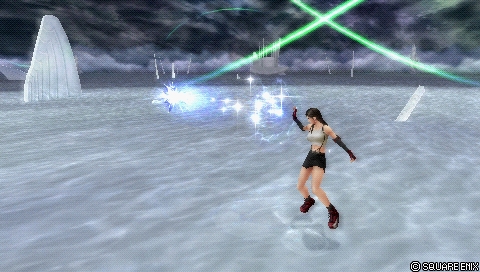
A low-priority “low risk, low reward” projectile: it builds assist gauge on whiff and pokes at mid range, with good vertical tracking. The reward on hit is negligible (weak damage, hit stun and knockback); its short recovery does avoid reactive assist punishes, though.
Base damage
10
Startup
31F
Type
Magical
Priority
Ranged Low
EX Force
0
Effects
--
Cancels
Dodge
CP (mastered)
30 (15)
Blizzara31FRanged Low
Ranged Mid (Explosion)
An advancing projectile that Wall Rushes on the ground, then becomes a persistent Ranged Mid explosion at the end of its travel. It occupies space at mid range, punishes dodges on a read and sets up assist combos without exposing her to close-range mixups. Careful: it is Ranged Low at the start and its recovery is longer than Blizzard's.
Base damage
24 (1, 2 x 10, 3)
Startup
31F
Type
Magical
Priority
Ranged Low Ranged Mid (Explosion)
EX Force
0
Effects
Wall Rush
Cancels
Dodge
CP (mastered)
30 (15)
Blizzaga93FRanged Mid
The slowest but most rewarding ice spell (30 base, a ground Wall Rush). It appears above the opponent and strikes late enough for Tifa to become actionable again, which opens one of her rare solo combos (into Waterkick or Meteor Strike). The longest recovery of her Blizzard spells: beware of assist punishes.
Base damage
30 (1, 2 x 10, 9)
Startup
93F
Type
Magical
Priority
Ranged Mid
EX Force
0
Effects
Wall Rush
Cancels
Dodge
CP (mastered)
30 (15)
Waterkick11FMelee Low
Her main ground poke and punish, very fast (11F), which leads into the Somersault HP link and therefore into assist combos. Its many active frames allow an option select by mashing Square then dodging. A feint is possible on the second hit to switch sides.
Base damage
20 (8, 12)
Startup
11F
Type
Physical
Priority
Melee Low
EX Force
30
Effects
Wall Rush, Feint
Cancels
Dodge, Attack (Kick) Feint (Second Hit)
CP (mastered)
30 (15)
Aerial
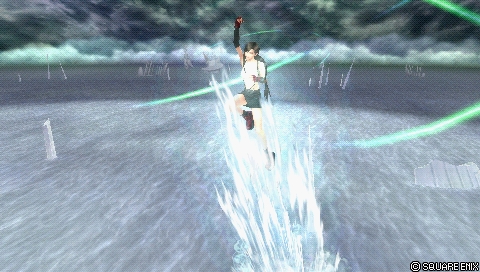
Elbow Smash11FMelee Low
Her main aerial poke (11F, unreactable): starting offence, building gauge, whiff punishing and punishing air dodges after a Free Air Dash. It is one of her main routes to HP conversion with an assist in the air, but its low base damage and its mere 30 EX make it an unrewarding tool that she is nonetheless obliged to use often.
Base damage
20 (8, 12)
Startup
11F
Type
Physical
Priority
Melee Low
EX Force
30
Effects
Wall Rush, Feint (both hits)
Cancels
Dodge, Attack (Elbow), Feint
CP (mastered)
30 (15)
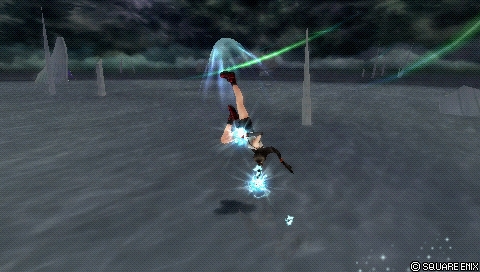
Falcon's Dive23FMelee Low
A divekick that serves as a secondary aerial poke and an air-to-ground punish, with a short recovery that can be cancelled quickly. Its 26 base damage and its near-instant Wall Rush make it one of her most damaging aerial bravery attacks, and the best combo filler with the Kuja assist.
Base damage
26
Startup
23F
Type
Physical
Priority
Melee Low
EX Force
0
Effects
Wall Rush, Feint
Cancels
Dodge, Feint
CP (mastered)
30 (15)
Moonsault Kick25FMelee Low
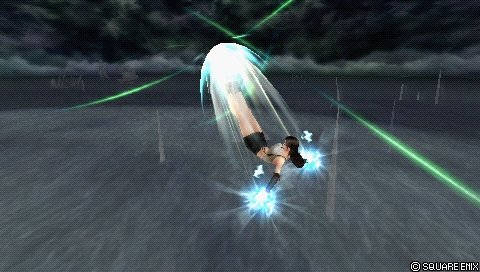
A two-part advancing attack with a reactable startup but the highest base damage in her moveset (40), with an instant feint and 90 EX. It starts assist combos without a wall, which makes it valuable with Aerith. Two chainable feints (before each part) increase criticals through Sneak Attack.
Base damage
40 (9, 9, 2 x 3, 16)
Startup
25F
Type
Physical
Priority
Melee Low
EX Force
90
Effects
Chase, Feint
Cancels
Dodge, Feint (both parts)
CP (mastered)
30 (15)
Dolphin Blow23FMelee Low
A rising multi-hit uppercut that whiff punishes opponents above Tifa, her second most damaging aerial bravery attack. It depends on ceiling Wall Rushes to really pay off, which makes it situational (unusable against Ultimecia's charged Knight's Lance at the ceiling, for instance).
Base damage
29 (1 x 5, 24)
Startup
23F
Type
Physical
Priority
Melee Low
EX Force
30
Effects
Wall Rush, Feint
Cancels
Dodge, Feint
CP (mastered)
30 (15)
Blizzard31FRanged Low
A low-priority “low risk, low reward” projectile: it builds assist gauge on whiff and pokes at mid range, with good vertical tracking. The reward on hit is negligible (weak damage, hit stun and knockback); its short recovery does avoid reactive assist punishes, though.
Base damage
10
Startup
31F
Type
Magical
Priority
Ranged Low
EX Force
0
Effects
--
Cancels
Dodge
CP (mastered)
30 (15)
HP attacks
Ground
Meteodrive39FMelee High
A short-range HP attack with a ground Wall Rush, usable as a block punish, with a feint that covers a good distance. Her other ground HP attacks cover more situations with better potential: rarely a priority competitively.
Base damage
15
Startup
39F
Type
Physical
Priority
Melee High
EX Force
30
Effects
Wall Rush, Feint
Cancels
Dodge, Feint
CP (mastered)
30 (15)
Meteor Strike7F after releaseMelee High
A chargeable advancing HP attack with the highest base damage of her ground HP attacks, excellent for opening as well as finishing assist combos (a ground Wall Rush, synergy with a high base bravery and Side by Side). Its low stance dodges certain air-to-ground attacks, and the feint during the active frames allows her to recharge, cancel a whiff or reflect high-priority projectiles.
Normal7F after releaseMelee High
Base damage
17 (1 x 2, 15)
Startup
7F after release
Type
Physical
Priority
Melee High
EX Force
3 per hit
Effects
Wall Rush, Feint
Cancels
Dodge, Feint
Half Charge42F, Hitbox 7F after releaseMelee High
Base damage
22 (1 x 7, 15)
Startup
42F, Hitbox 7F after release
Type
Physical
Priority
Melee High
EX Force
3 per hit
Effects
Wall Rush, Feint
Cancels
Dodge, Feint
Full Charge58F, Hitbox 7F after releaseMelee High
Base damage
28 (1 x 13, 15)
Startup
58F, Hitbox 7F after release
Type
Physical
Priority
Melee High
EX Force
3 per hit
Effects
Wall Rush, Feint
Cancels
Dodge, Feint
Burning Arrow47FMelee High
Tifa's only single-hit HP attack: a mid-range punish (mainly against ground dodges), a reliable reflection of high-priority projectiles and an answer to EX Revenge checkmates. Wall Rush on walls only, which limits its combo routes; a feint just before the hit serves as an emergency brake.
Startup
47F
Priority
Melee High
EX Force
0
Effects
Wall Rush, Feint
Cancels
Dodge, Feint
CP (mastered)
30 (15)
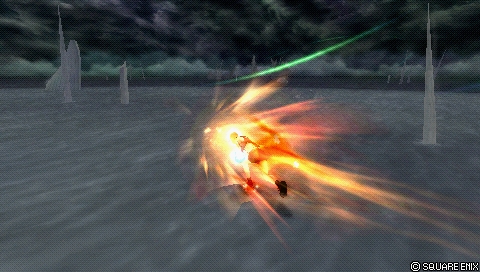
Rolling Blaze45FMelee High
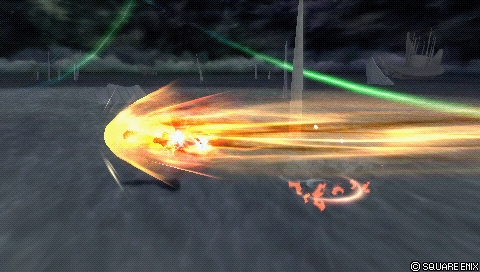
An essential move in both its versions: her main anti-air on the ground, an air-to-ground threat in the air, with a constant high-priority hitbox and a ground Wall Rush for heavy damage with an assist. Feinting during the initial rush, followed by a second Rolling Blaze, hugely extends its range while leaving only a very short punish window. Poor lateral range; with two gauges and Aerith, it is one of her most devastating routes.
Base damage
7 (1 x 7)
Startup
45F
Type
Physical
Priority
Melee High
EX Force
3 per hit (max 21)
Effects
Wall Rush, Feint
Cancels
Dodge, Feint
CP (mastered)
30 (15)
Aerial
Rolling Blaze45FMelee High
An essential move in both its versions: her main anti-air on the ground, an air-to-ground threat in the air, with a constant high-priority hitbox and a ground Wall Rush for heavy damage with an assist. Feinting during the initial rush, followed by a second Rolling Blaze, hugely extends its range while leaving only a very short punish window. Poor lateral range; with two gauges and Aerith, it is one of her most devastating routes.
Base damage
7 (1 x 7)
Startup
45F
Type
Physical
Priority
Melee High
EX Force
3 per hit (max 21)
Effects
Wall Rush, Feint
CP (mastered)
30 (15)
Meteor Crusher17F after releaseMelee High
A chargeable aerial HP attack, a block punisher and a common finishing HP attack for assist combos thanks to its speed and its range once charged (equal in startup to an uncharged Meteor Strike). Charging noticeably increases the range and allows a feint during the approach. No Wall Rush (a lesser reward mid-screen) and multi-hit, so unusable against EX Revenge checkmates.
Base damage
10 (1 x 8, 2)
Startup
17F after release
Type
Physical
Priority
Melee High
EX Force
87
Effects
Feint
Cancels
Dodge, Feint (During Charge)
CP (mastered)
30 (15)
HP links (Bravery → HP)
HP attacks that fire as an extension of a specific Bravery attack — the “HP link”. They are equipped like any other HP attack.
Somersault?Melee High
Her only HP link (from Waterkick), very fast, which starts assist combos anywhere and fills the gauge with Side by Side. Unpunishable even if the opponent escapes with LV1 Assist Change: it is this move that makes Waterkick so threatening.
Base damage
- (+Waterkick, 8 Total)
Startup
?
Priority
Melee High
EX Force
60 / 90
Cancels
Dodge
CP (mastered)
30 (15)
EX Mode: Equipped Premium Heart! & EX Burst
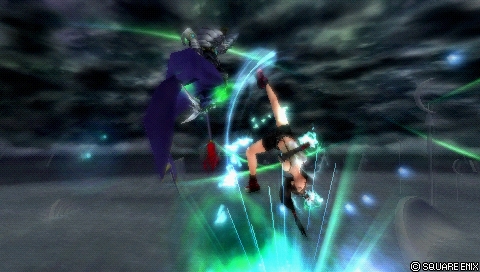
The “Equipped Premium Heart!” EX Mode: Tifa gains Regen, Critical Boost and the permanently active Premium Heart effect, which increases the damage she deals the fuller the EX gauge is.
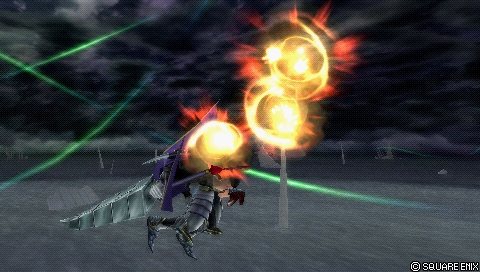
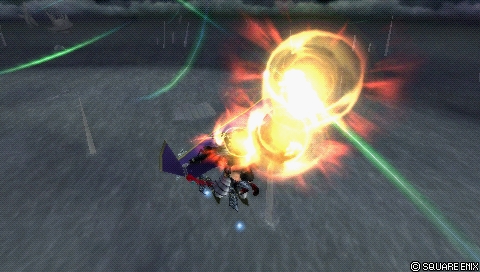
EX Burst : Final Heaven is an EX Burst with seven reels to stop on the “Yeah!” symbol (a steady rhythm of about 1 to 1.5 s between presses, or Auto EX Command Ω for 20 CP). Since its damage depends on the EX gauge remaining, it has to be used as soon as EX Mode is activated: at full gauge, it is one of the most powerful EX Bursts in the game.
Unique mechanic
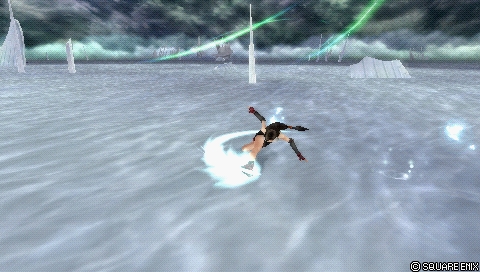
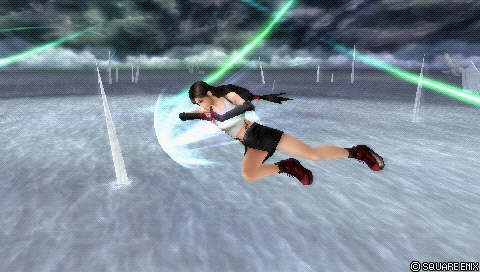
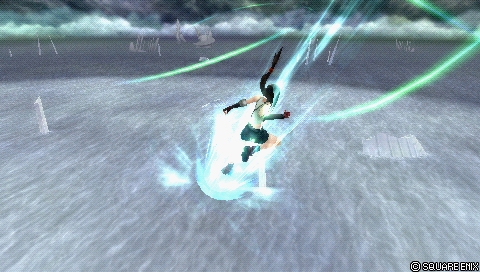
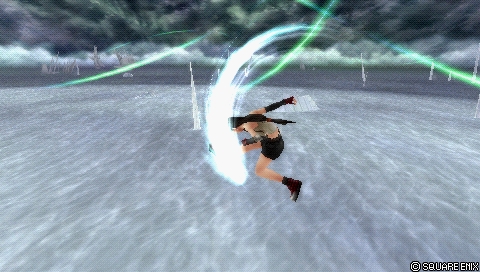
Tifa can cancel most of her attacks into a feint: an invincible dash that passes through opponents, triggered by pressing Cross during the startup (e.g. Beat Rush > Cross > Beat Rush). She can then continue the previous attack or wait for the feint to end, with about a second of possible delay before being locked into recovery.
The feint extends an attack's range and makes its timing ambiguous (Rolling Blaze is the most famous example), notably by waiting for the opponent's block to expire. Tifa always moves forwards and only passes behind the opponent if she is close enough: the direction cannot be controlled, and there is no mixup into another attack after the feint.
The invincibility makes it an excellent defensive option against dodge punish attempts, but Tifa remains vulnerable after the teleport and during the recovery. Keeping assist gauge to cover that moment helps; using feints sparingly early in a match lets her gauge the opponent's reaction.
Feint windows: Beat Rush (before the 1st hit), Waterkick (before the 2nd hit), Moonsault Kick (before each part), Falcon's Dive, Dolphin Blow, Meteodrive and Burning Arrow (before the 1st hit), Meteor Strike (before or during the 1st hit, rechargeable after a feint), ground and aerial Rolling Blaze (during the first part), Meteor Crusher (before the impact, not rechargeable after a feint).
Documented counter-strategies: getting out of range by running or jumping, interrupting with fast attacks (Squall's Beat Fang, Yuna's Diamond Dust), following up with a homing attack (Cloud's Braver, Vaan's Inferno), or reacting with an assist to catch her in a pincer.
Attacks with feints
Attack
Feint window
Post-feint action
Beat Rush
Before first hit
Beat Rush
Waterkick
Before second hit
Second bravery hit of Waterkick
Moonsault Kick
Before either hit
First part or second part depending on feint timing
Falcon's Dive
Before first hit
Falcon's Dive
Dolphin Blow
Before first hit
Dolphin Blow
Meteodrive
Before first hit
Meteodrive
Meteor Strike
Before / during first hit
Meteor Strike (can be charged)
Burning Arrow
Before first hit
Burning Arrow
Rolling Blaze (both)
During first part
Rolling Blaze
Meteor Crusher
Before attack connects
Meteor Crusher (cannot be charged)
Gameplan & advanced tech
The heart of Tifa's game is on the ground: Waterkick as her main poke leading into the Somersault HP link, Beat Rush as a punish and as post-dodge defence, Rolling Blaze to threaten the nearby aerial space and punish dodges. Somersault combos with an assist deal considerable damage with a high base bravery, to the point of pushing the opponent to abandon the ground.
In the air, Elbow Smash is the reference poke for starting offence and building gauge, complemented by Moonsault Kick as a more damaging mixup and Falcon's Dive as a safe downward angle. The Blizzard spells let her keep her distance, build assist gauge and interrupt the opponent without committing to close-range mixups.
Almost all HP conversion goes through Wall Rushes and the assist: Rolling Blaze, Meteor Strike and Falcon's Dive to open, Meteor Crusher and aerial Rolling Blaze to finish. With Kuja, a doubled Falcon's Dive is her most damaging filler; with Aerith, an HP attack guarantees a Seal Evil follow-up and the double assist combo can exceed 3000 HP of damage.
The feints serve first and foremost defensively (invincibility after a ground dodge) and to reposition behind the opponent, but they have to be rationed: once read, they are interrupted with fast attacks or an assist. In a Side by Side build, the EX gauge is frozen: the EX Cores have to be picked up so as not to leave the generated EX Force to the opponent.
Character-specific tech
Waterkick option select
By mashing Square during Waterkick's active frames then dodging during the recovery of the first kick, Tifa covers both the hit (Somersault) and the whiff, which makes her hard to whiff punish on reaction.
Rolling Blaze feint extension
Feinting Rolling Blaze during the initial rush then chaining a second Rolling Blaze hugely extends its maximum range, with a vulnerability window so brief that punishing it demands precise timing.
Double assist combo (Aerith)
With two assist gauges: an HP attack with a Wall Rush, Aerith's Seal Evil, another Wall Rush during the Seal Evil, a second Aerith call then Rolling Blaze. A single combo can exceed 3000 HP of damage with a high base bravery build.
Knockback cancel (Beat Rush)
Cancelling the knockback of Beat Rush's third hit with an assist call keeps the opponent in place and makes the most of its 35 base damage; hard to execute but very rewarding, especially with the Sneak Attack extra ability.
Blizzaga hit glitch (Meteor Strike)
Blizzaga can cause a hit glitch on Meteor Strike, sending inattentive opponents into a damaging assist combo.
Moonsault Kick lock-off / knockback negation
Used with lock off, Moonsault Kick can be steered freely to build gauge safely in large arenas. An assist call at a very precise moment during the final rush also negates its knockback.
Documented solo combo routes
Three routes, all starting from Blizzaga, and nothing else: Blizzaga > Waterkick; Blizzaga (a hit close to the ground) > Meteodrive or Meteor Strike; Blizzaga (a hit close to the ground) > a dash to push the opponent out of the last hit > Meteor Strike.
Universal techniques (blodge, dash feint, lock off, dodge punishment): see the Techniques & glitches page.
Matchups
Generally speaking, Tifa competes with characters using conventional melee strategies close to the ground. She struggles, on the other hand, to approach persistent projectiles (Garland) and traps (The Emperor); Ultimecia combines both with good zoning. Against Garland, she has no simple way around the Cyclone HP attack, but Aerith's Seal Evil BRV assist gets around it easily.
Aerial matchups can be difficult too (Sephiroth, for instance), between average pokes and a disappointing reward on hit. Tifa does not have many winning matchups, but she fights well on the ground: when she can lean on it or alternate ground and air, as against Firion, Jecht and Cecil, she is well placed to make big plays.
Three builds are documented, all at 450 CP assuming the Equip Glitch. The first, an “all-rounder” Side by Side (Kuja assist, Seventh Heaven, a constant x2.7 booster), aims for an attack/defence balance: defensive equipment (Hero's Shield against HP Wall Rush damage), accessories geared towards gauge depletion and bravery boosts on block/dodge, a high base bravery and Assist Critical Boost to make up for her average damage. Kuja converts Wall Rushes, staggers and unfinished bravery sequences.
The second, a high base bravery Side by Side (1623 BRV, Aerith assist, x3.5 booster), maximises damage: an HP attack, Aerith's Seal Evil, then a second HP attack once base bravery has been recovered, for more than 3000 HP in a single combo. Aerith is the only competitive assist that converts a full Moonsault Kick without a wall, and the double assist combo is the build's signature. Side by Side freezes the EX gauge: the EX Cores have to be picked up.
The third, BRV Boost on Dodge (the Adamant Chains set, an x5.5 booster, 146 BRV per dodge at full tilt), is reserved for matchups where Tifa takes a lot of projectiles: it discourages Sephiroth's Shadow Flare and helps against The Emperor and Ultimecia, three matchups that remain difficult even so. The extra bravery justifies taking the risk to land an HP attack.
The all-rounder build has no free CP (replace an accessory with Hero's Essence if needed); the high bravery build leaves 15 to 25 free CP depending on the abilities removed; the BRV Boost on Dodge build leaves 25 free CP. Substitute tables are documented (Muscle Belt, Back-Breaking Straw, Best Dresser/Master Guardsman, and so on).
Build and check a Tifa Lockhart loadout slot by slot: build creator (CP gauge, ability exclusions and tournament rules applied).
Assist synergies
Tifa Lockhart as an assist
As an assist, Tifa has Beat Rush (ground BRV, 21F, Chase), Falcon's Dive (air BRV, 23F, Wall Rush), Meteodrive (ground HP, 39F, Wall Rush) and Rolling Blaze (air HP, 45F, Wall Rush), all appearing on the opponent.
She is ranked Low on Muggshotter's assist tier list.
Recommended assists
Kuja — Conversions off pokes and Wall Rushes with heavy bravery damage, at the cost of a high risk of seeing him locked when he is used.
Tidus — The same conversions as Kuja with less damage, but a faster startup and a shorter aerial BRV assist animation, which makes him safer even if the opponent escapes with LV1 Assist Change.
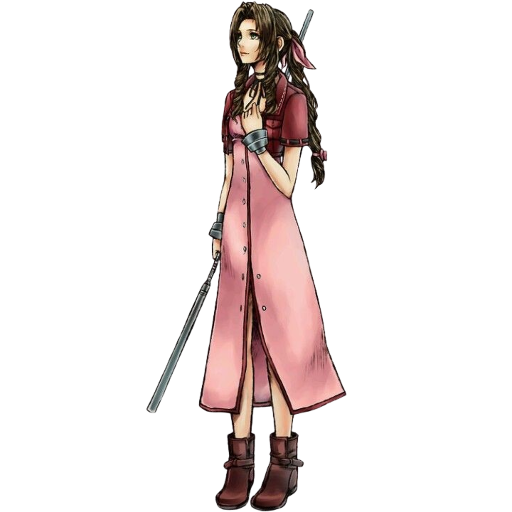
Aerith — She boosts damage close to the ground with triple HP combos and reliably converts the Moonsault Kick chase; recommended for Side by Side and/or high base bravery builds.
A period thread from the Duodecim board (6 pages): mindgames around the feints (feinting then waiting for the opponent's block to expire before striking), exclusive equipment with figures (Godhand, Premium Heart, Seventh Heaven) and a Kuja assist follow-up with the first two hits of Moonsault Kick after a Wall Rush.
A community record of solo combo routes for all 31 characters, compiled by Eddiegames on the Discord DISSIDIA and published on pastebin (last updated December 2022). Tifa is credited there with three routes, all starting from Blizzaga.
The wiki's Combos section is empty (documented: false): no detailed, quantified combo is provided, and only the indications in the move and build notes were used.
No external reference (the References section is empty): no attributable communityTech.
The overview's Strengths/Weaknesses table is empty in the data; strengths and weaknesses were deduced from the overview text, the move notes and the matchups.
The assist gauge gains (assistGain) are not filled in for any move.
Somersault's startup is unknown in the data (“?”), and the EX Burst's damage type is marked “??”.
 Assist
 Seventh Heaven
 Hero's Shield
 Dueling Mask
 Heavy Armor
 Block Ring

 Empty EX Gauge
 Pre-EX Mode
 Blue Gem


 Summon Unused
 BRV ≥ Base Value
 Aerial
 After 30 seconds